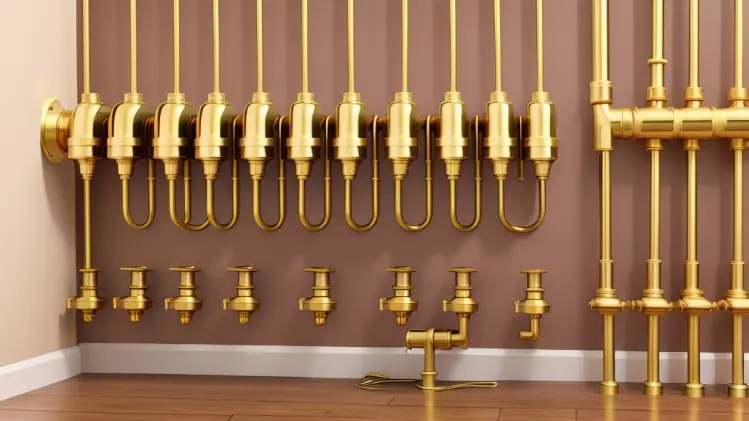
A Step-by-Step Guide: How to Install Brass Hose Fittings with Ease in the USA
Installing brass hose fittings may seem like a daunting task at first, but with the right tools and knowledge, it can be a straightforward process. Whether you're a seasoned DIY enthusiast or a plumbing novice, this step-by-step guide will walk you through the process of installing brass hose fittings with ease, ensuring a secure and leak-free connection for your plumbing system in the USA.
Step 1: Gather Your Tools and Materials
Before you begin, make sure you have all the necessary tools and materials on hand:
- Brass hose fittings
- Adjustable wrench or pliers
- Teflon tape or pipe thread sealant
- Pipe cutter or hacksaw (if cutting pipes)
- Deburring tool (if cutting pipes)
Step 2: Prepare the Pipes
If you're connecting brass fittings to existing pipes, start by preparing the pipes:
- Measure and mark the desired length of the pipe.
- Use a pipe cutter or hacksaw to cut the pipe to the appropriate length.
- Use a deburring tool to remove any burrs or rough edges from the cut end of the pipe.
Step 3: Apply Thread Sealant
Before installing the brass fittings, apply thread sealant to the threads of the fittings. You can use Teflon tape or pipe thread sealant to ensure a tight seal and prevent leaks.
- Wrap the Teflon tape clockwise around the threads of the male fitting, overlapping each layer slightly.
- If using pipe thread sealant, apply a thin, even coat to the threads of the male fitting.
Step 4: Assemble the Fittings
With the thread sealant applied, it's time to assemble the fittings:
- Screw the male fitting into the female fitting by hand, ensuring a snug fit.
- Use an adjustable wrench or pliers to tighten the fittings further, but be careful not to over-tighten, as this can damage the threads.
Step 5: Connect the Fittings to the Pipes
Once the fittings are assembled, it's time to connect them to the pipes:
- Insert the end of the pipe into the female fitting.
- Hold the fitting in place and tighten the connection using an adjustable wrench or pliers.
- Repeat the process for any additional connections.
Step 6: Test for Leaks
After installing the brass hose fittings, it's crucial to test the connections for leaks:
- Turn on the water supply and inspect each connection for signs of leakage.
- If you notice any leaks, tighten the fittings further or reapply thread sealant as needed until the leaks are resolved.
Step 7: Enjoy Your Secure and Leak-Free Plumbing System
Congratulations! You've successfully installed brass hose fittings in your plumbing system in the USA. With their exceptional durability and reliability, you can trust that your plumbing system will provide years of trouble-free operation, whether it's for residential, commercial, or industrial applications. Now sit back, relax, and enjoy the peace of mind that comes with knowing your plumbing system is in top-notch condition.